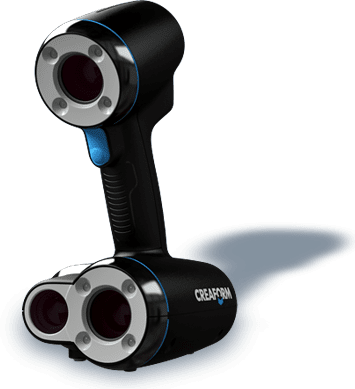
Have you, at any point of time, faced an inclination toward the 3D scanning service? If the answer is yes, you should opt for EMS Steinbichler Comet L3D 3D Scanner. The dimensions of this scanning device are really small, but it very efficiently delivers the work assigned. The portability of this device coupled with its efficiency has formed enough reasons for the demand of this device in the markets. Indeed, the scanning of high resolutions can be done with this device using the targets or the mounting arm, photogammetry or rotary table. For scanning the objects that have large dimensions, the target having digital codes is preferred.
There megapixel models offered by the EMS 3D scanning service include 1, 2, or 5. The scanner is provided with interchangeable lenses. The accuracy achieved in the scans is up to 20 microns.
The usage of the L3D does not involve complicated processes. Blue LED is the technology that the scanner puts to use as that ensures capturing even the dark as well as the shiny places. The scanner can be previewed before it is set up and this procedure can be carried on when the objects fit well in the field. In case when the method doesn’t work, the targets are to be used so that the objects has the complete surface area captured.
The 3D scanning service by EMS is done through triangulation. According to the method, enough light is thrown on the area of surface and the camera takes the information immediately. This depends on one factor and that is distortion of light. When rotary table is used, scans are taken from various angles. This makes sure that full object is scanned. For capturing other side of the same object,the arm should be moved. The point to be kept in mind is that for a complete scan of the same object, the process should be thorough.
Reverse engineering, along with inspection, counts among the prime uses of this scanning device. 3D CAD data can be made from these scans. With this the onbject can be more closely looked at which helps you in taking the measurements with a greater precision.
When the task of scanning is over, they are required to be offered an alignment. For this the merging of these scans into a single file is done. On the basis of the markers they are lined up, which, again, is done in the software. When the scanning is done, scans are arranged in order according to a format that is desired.
